Import
This guide explains how to import data into bauplan's data catalog as Iceberg tables.
General requirements
- Data must be in Parquet or CSV format
- Data must be in S3 - local files cannot be imported directly
- S3 bucket must have proper permissions configured:
- For bauplan's clients, this is a one-off operation done during onboarding when pairing your data with the system
- For sandbox users, see sandbox requirements below
Sandbox environment requirements
When using the bauplan sandbox (beta environment), additional requirements apply:
- S3 bucket must be publicly readable
- S3 bucket must have
ListObjectpermission enabled
These additional requirements exist because the sandbox runs in an isolated EC2 instance that can only access public data. In a production environment, the EC2 instance would be privately linked to your bucket through IAM.
Import process overview
The import process in bauplan consists of two main steps:
- Create Table: Define the table schema based on your data files
- Import Data: Load the data into your newly created table
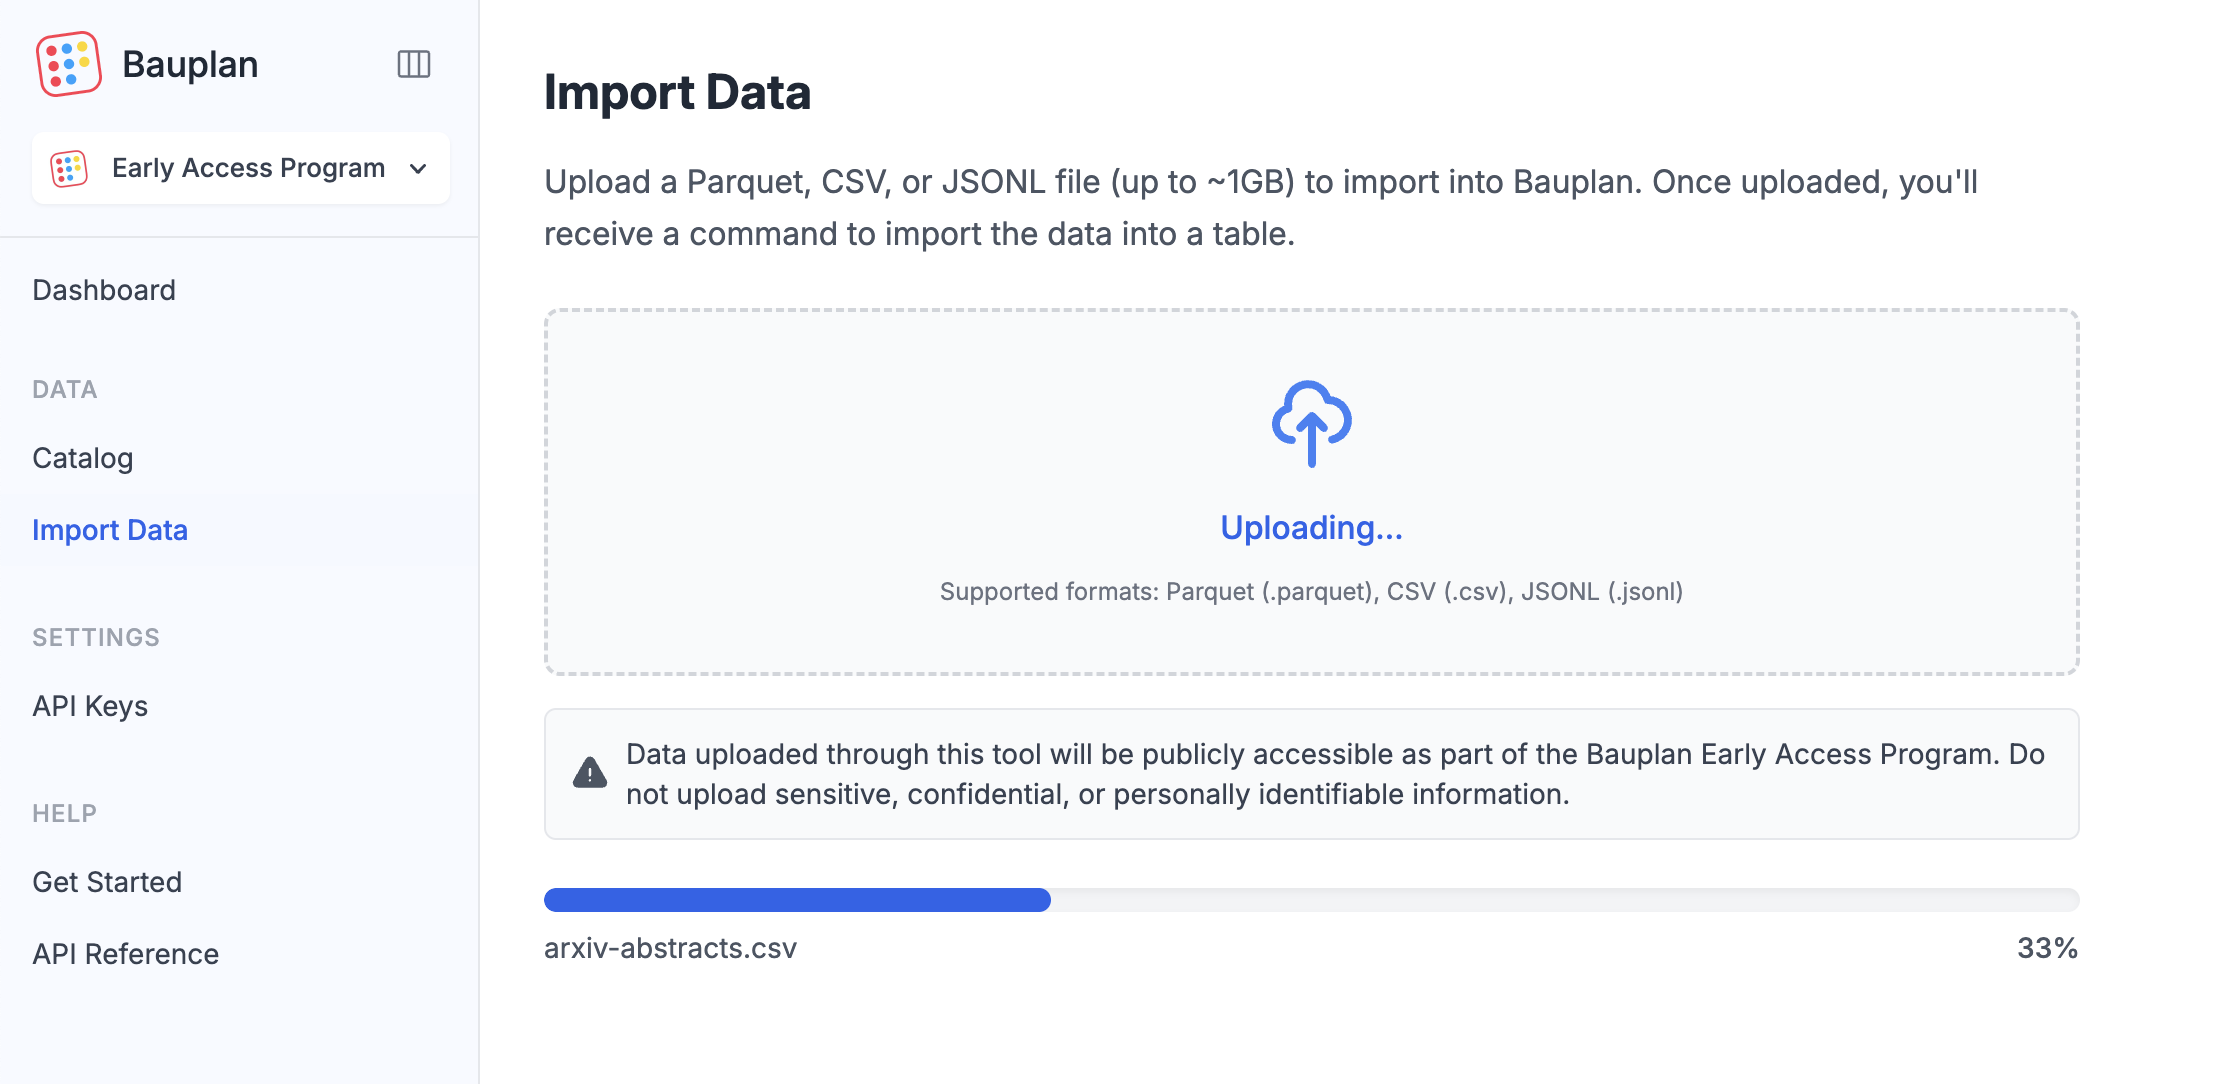
Using the Web UI instead?
You can also import data through the Bauplan UI: navigate to Import Data in the left menu and drag and drop your files. Once uploaded, continue with the steps below to create a table and import the data.
Public Sandbox Notice: This is a shared public environment. All data you upload will be visible to other users - use only public datasets.
You can use an AI Agent to safely import your data!▾
Step 1: Create table
Create an empty table using the create command:
- CLI
- SDK
bauplan table create <YOUR_TABLE_NAME> --search-uri 's3://your-bucket/*.parquet'
import bauplan

client = bauplan.Client()

client.create_table(
    table='my_table_name',
    search_uri='s3://path/to/my/files/*.parquet',
    branch='my_branch_name'
)
This command will:
- Analyze your Parquet/CSV files to determine the schema
- Create an empty table with the appropriate structure
- Not yet import any data
Step 2: Import data
After creating the table, import the data:
- CLI
- SDK
bauplan table import <YOUR_TABLE_NAME> --search-uri 's3://your-bucket/*.parquet'
import bauplan

client = bauplan.Client()

state = client.import_data(
    table='my_table_name',
    search_uri='s3://path/to/my/files/*.parquet',
    branch='my_branch_name'
)

# Check for errors during import
if state.error:
    print(f"Import failed: {state.error}")
Scheduled imports: You can import data on a schedule. See our scheduled ingestion example.
Review changes with branch diff
Before merging your import branch, you can review what's changed compared to
main by running branch diff. This compares your current branch against a
target branch:
bauplan branch diff main
This will show:
- New tables in your branch that don't exist in
main - Schema or data differences in existing tables
- Tables deleted or renamed in your branch
branch diff always compares your active branch to the branch you pass as
an argument.
Handling schema conflicts
If schema conflicts occur between files during import, you can generate an import plan, resolve the conflicts, and apply the corrected plan.
A quick summary of the steps:
- Generate an import plan:
bauplan table create-plan <YOUR_TABLE_NAME> \
    --search-uri 's3://your-bucket/*.parquet' \
    --save-plan table_creation_plan.yml
- Review the
table_creation_plan.ymlfile for conflicts - Modify the schema as needed
- Ensure the
conflictsfield is empty (conflicts: []) - Apply the modified plan:
bauplan table create-plan-apply --plan table_creation_plan.yml
- For more details see table create-plan and table create-plan-apply. - For a complete import reference - including error handling and advanced import options, please consult the reference documentation.